Assembly & finishing
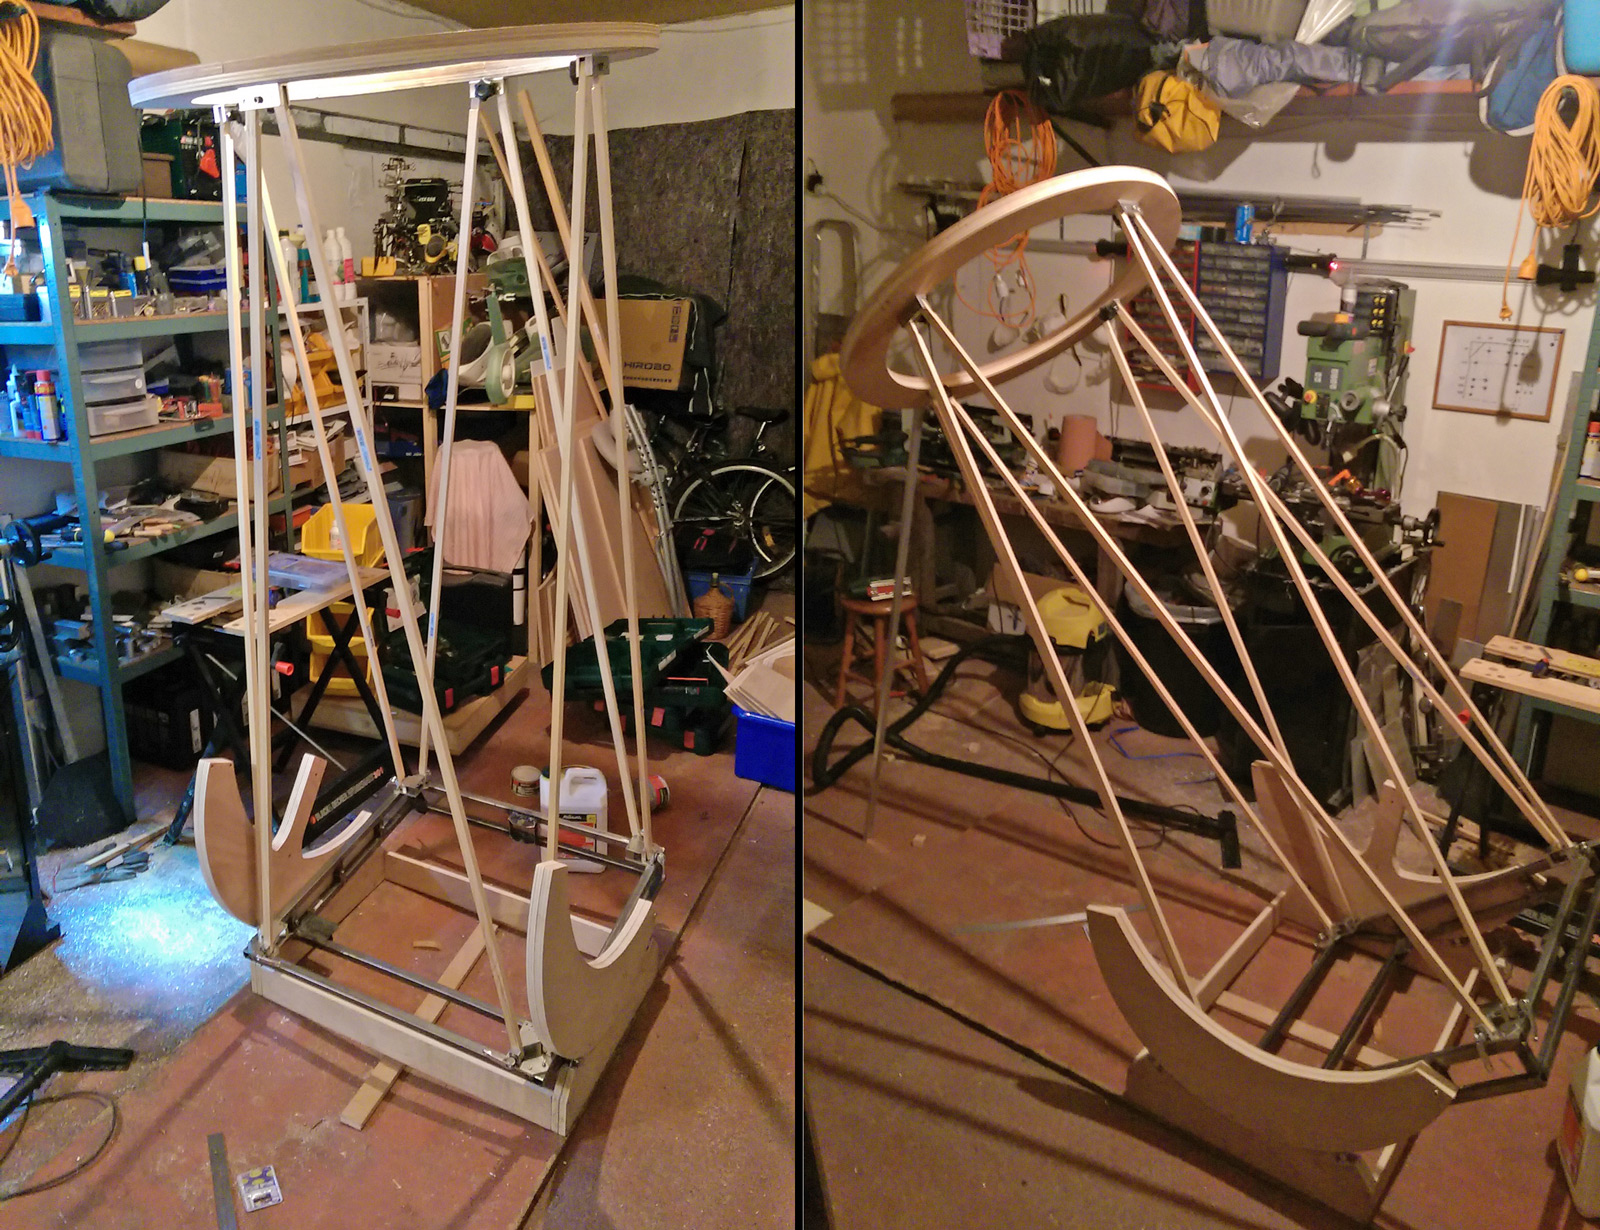
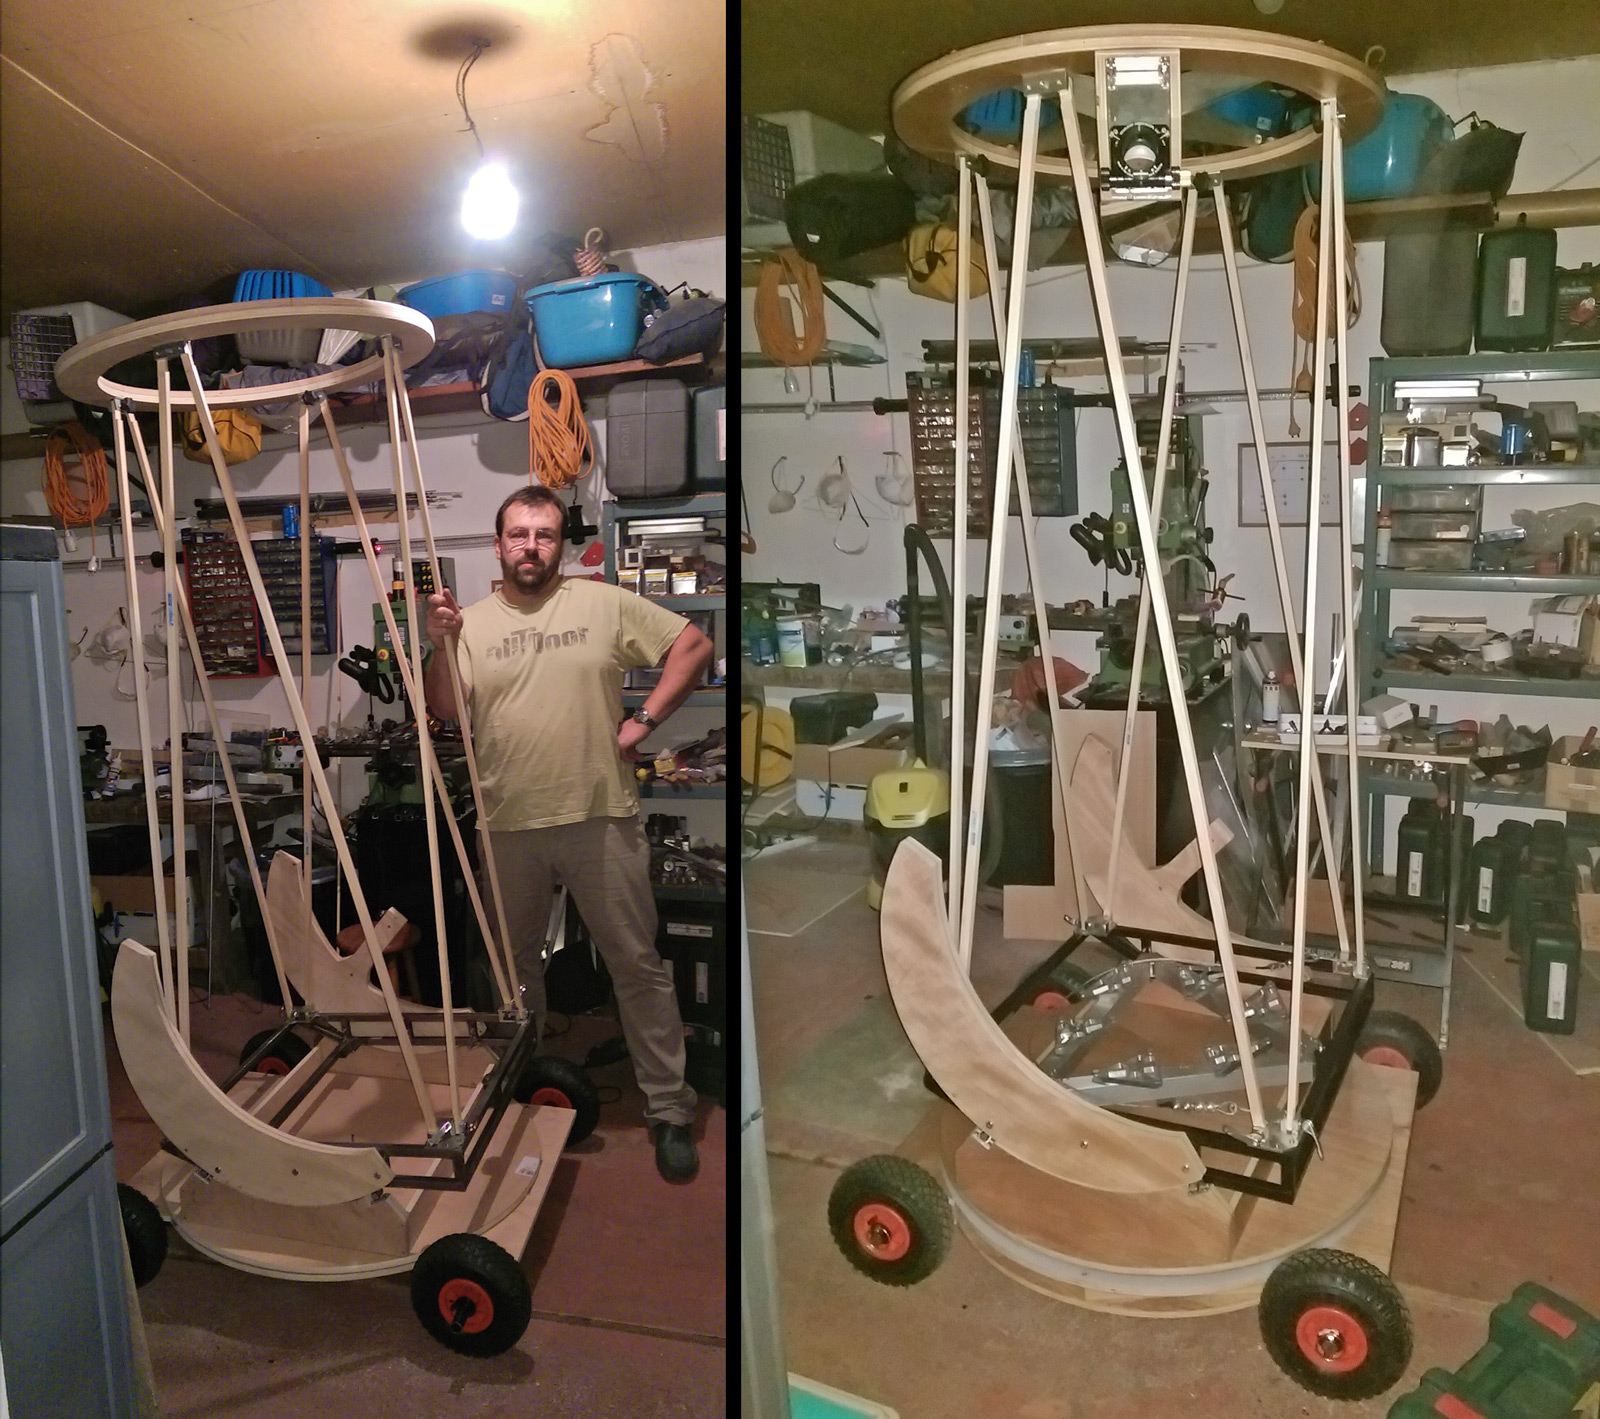
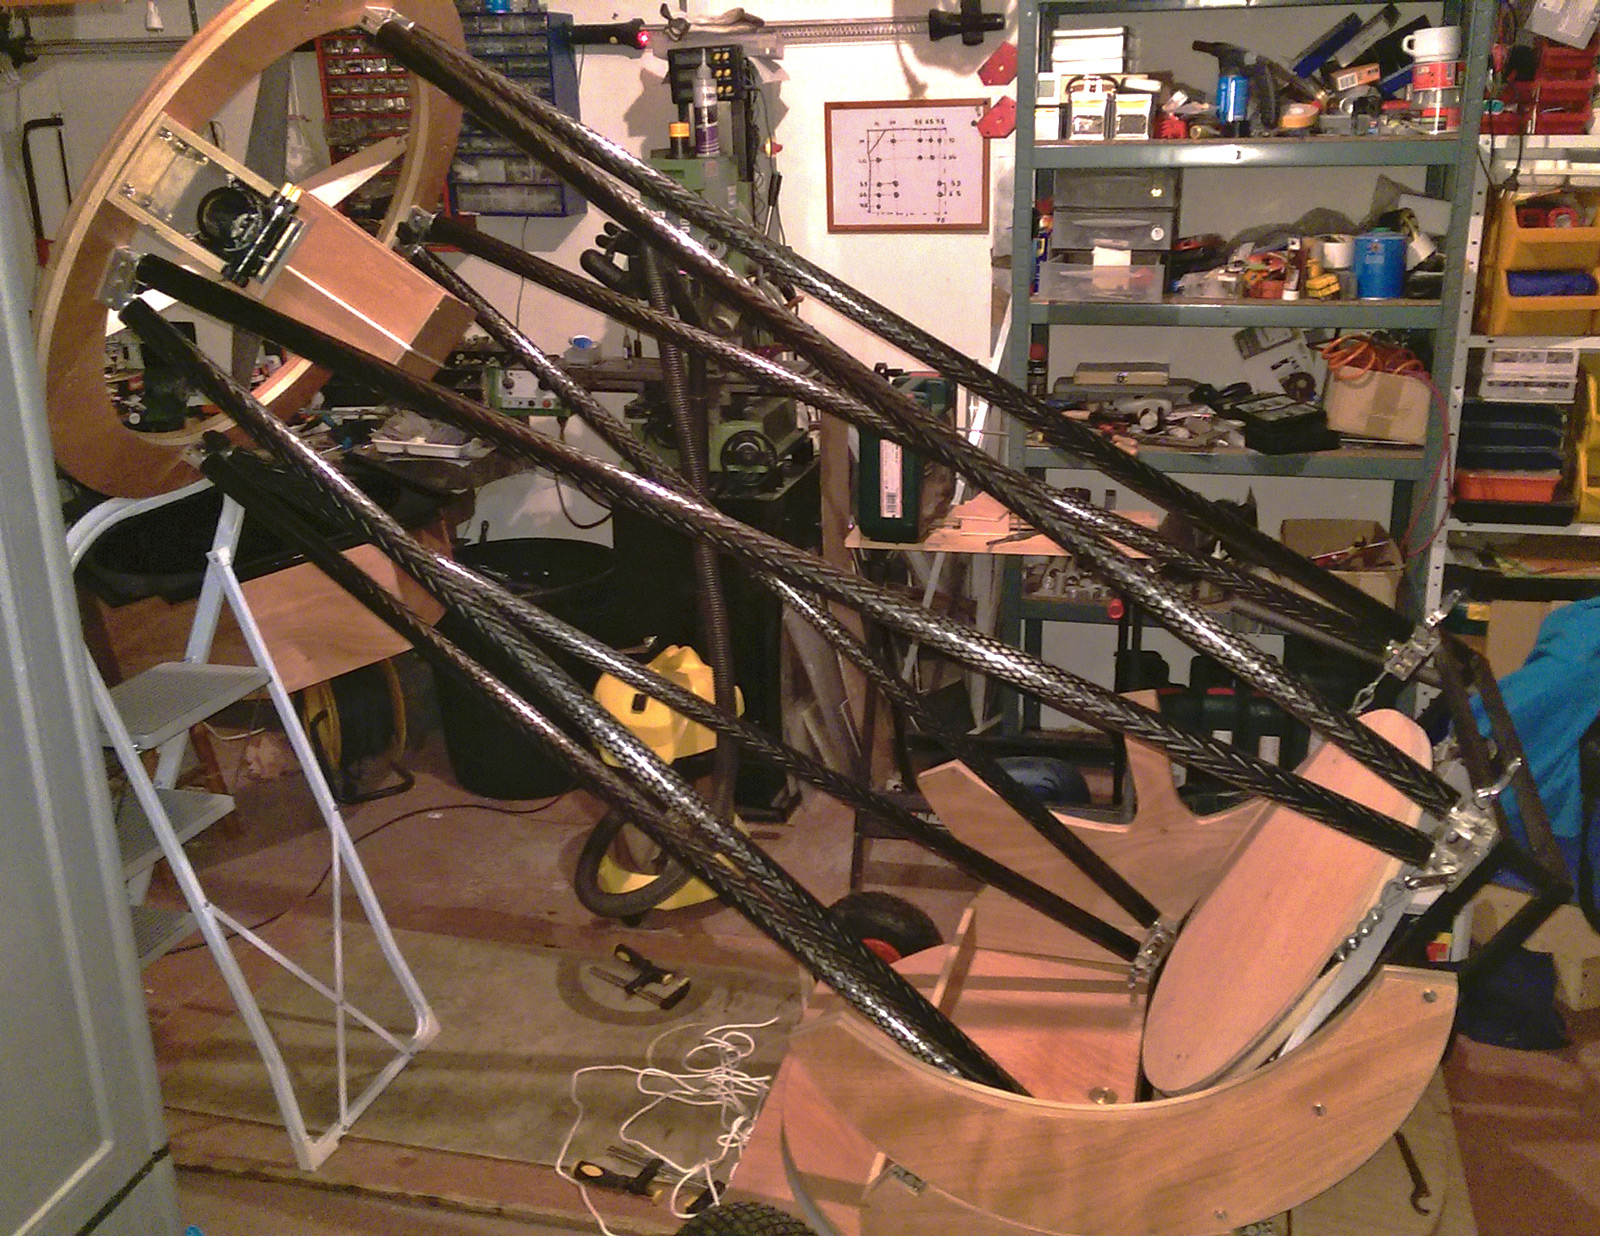
The assembly involved crafting the carbon fiber tubes that connect the primary cage to the secondary ring. This step might seem simple, but it took time because the tubes needed to be the exact right length. While carbon fiber cuts well, it doesn’t bond easily, so there was no room for error. To ensure the correct length, a dry run was performed using pine strips. This allowed me to evaluate the final structure and test it under real conditions with all the eyepieces to confirm that focus could be achieved across my entire range, with and without the Paracorr. This required several trials and adjustments to the pine strips until the perfect length was found.
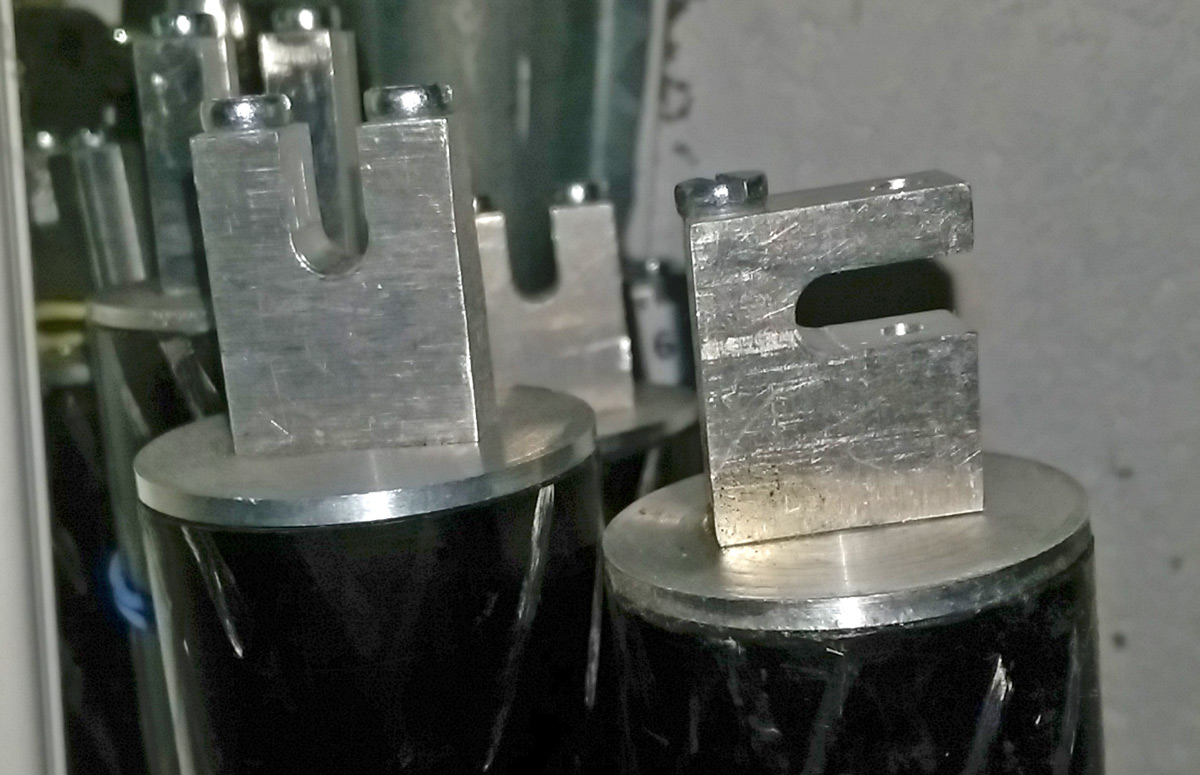
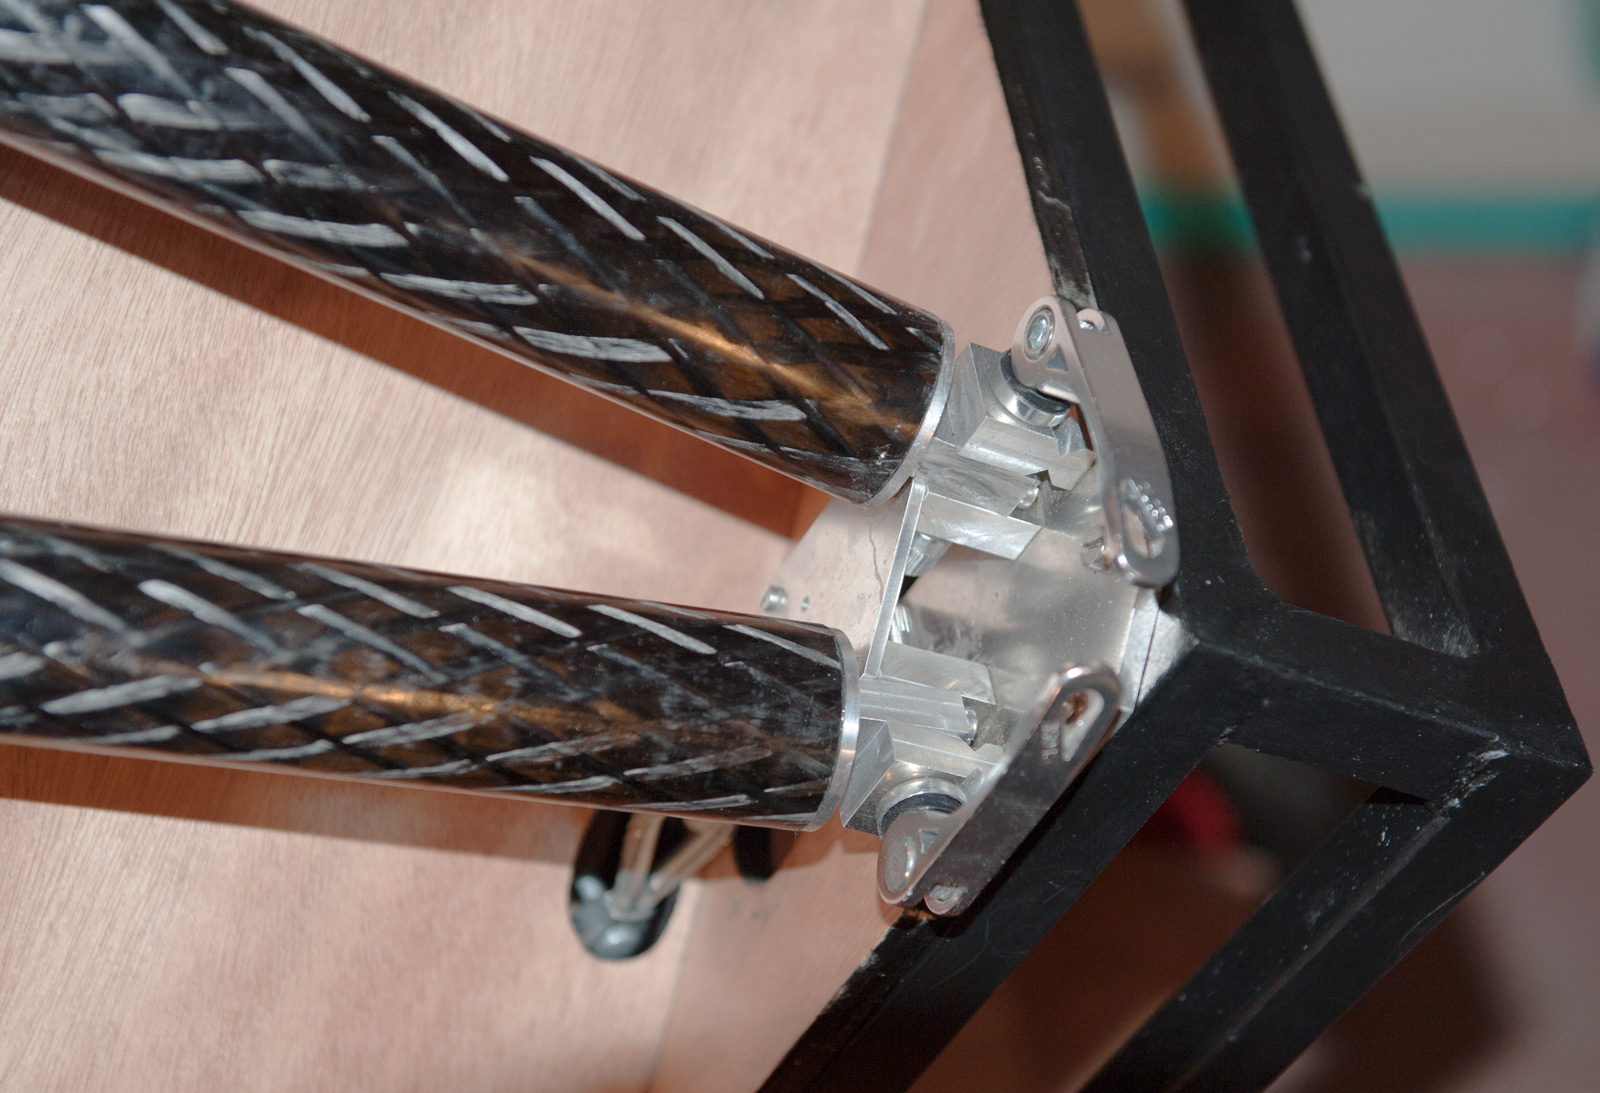
Next came the time to cut the tubes to the correct length. Once this was done, each end of the tube was fitted with a turned aluminum end cap (with a shoulder to create the “cap” for the tubes). The end caps were bonded to the tubes with epoxy, not without first creating some notches with a Dremel on each bonded surface to ensure a secure hold. The bonding process caused a bit of a scare because it was done in the cold month of December, and the epoxy took nearly two days to solidify… but once dry, it was as strong as needed.
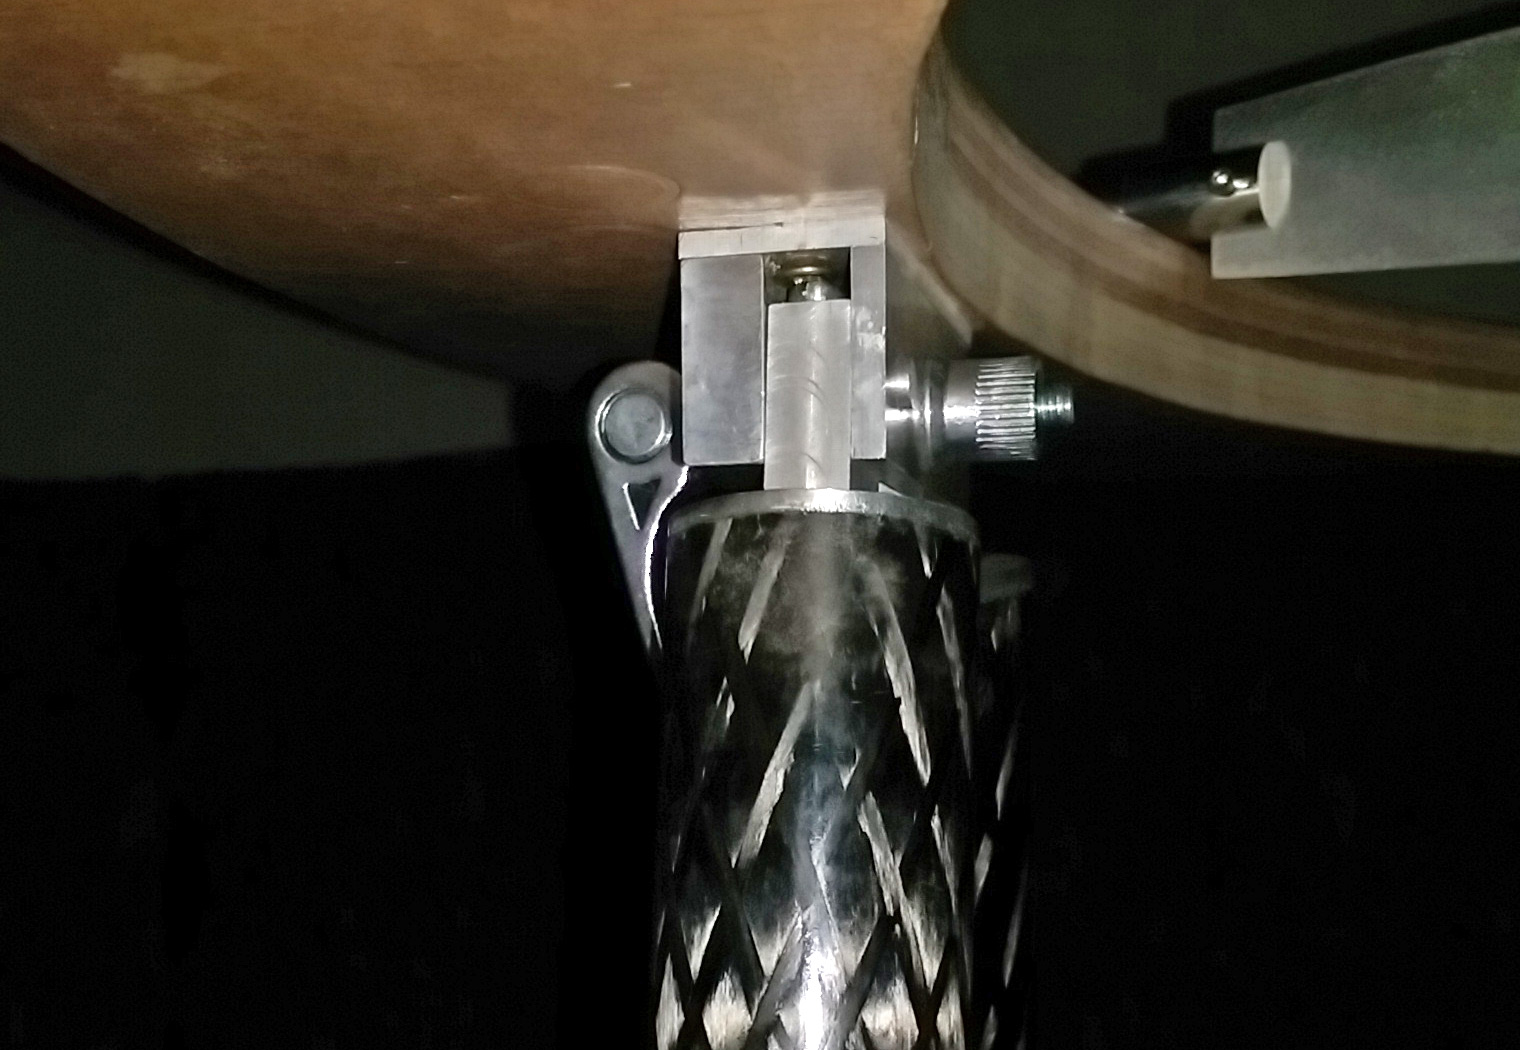
The actual fittings were then screwed onto the end caps to create flat “U”-shaped attachments, 10mm thick, for quick insertion into the primary and secondary mounts. An exception was made for the two “upper” tubes, which experience more tension than compression. To ensure a secure hold, the fittings for these were designed as hooks that slide in from the side. This way, I can be certain the fittings won’t slip.

assemblage_01
assemblage_02
assemblage_06
assemblage_07
assemblage_08
assemblage_09
Finishing touches
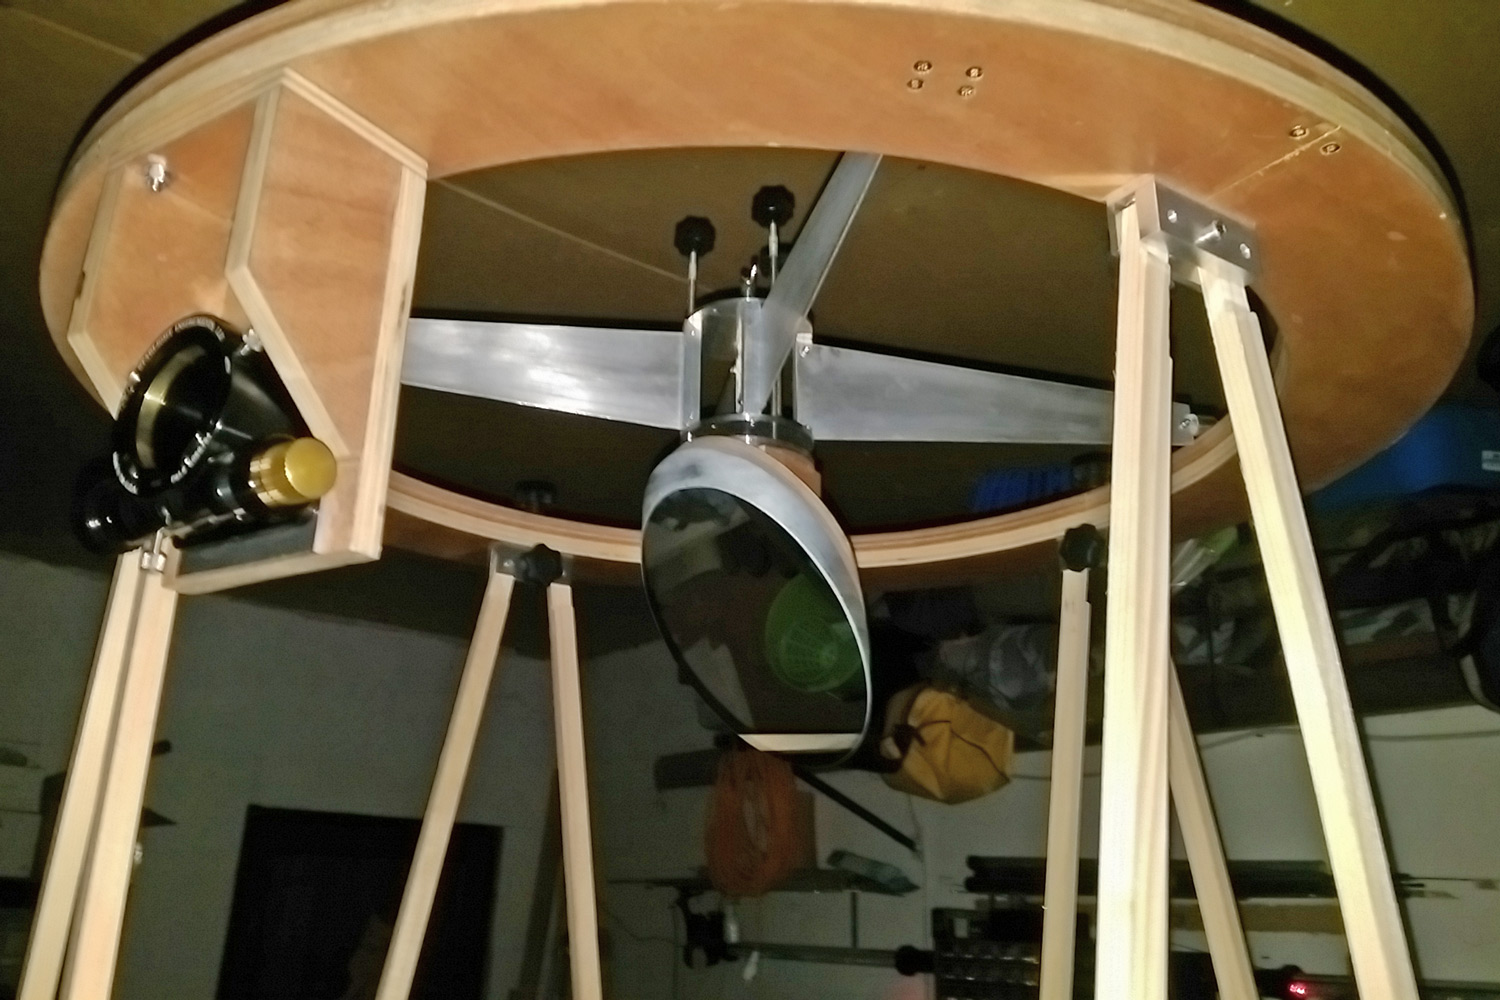
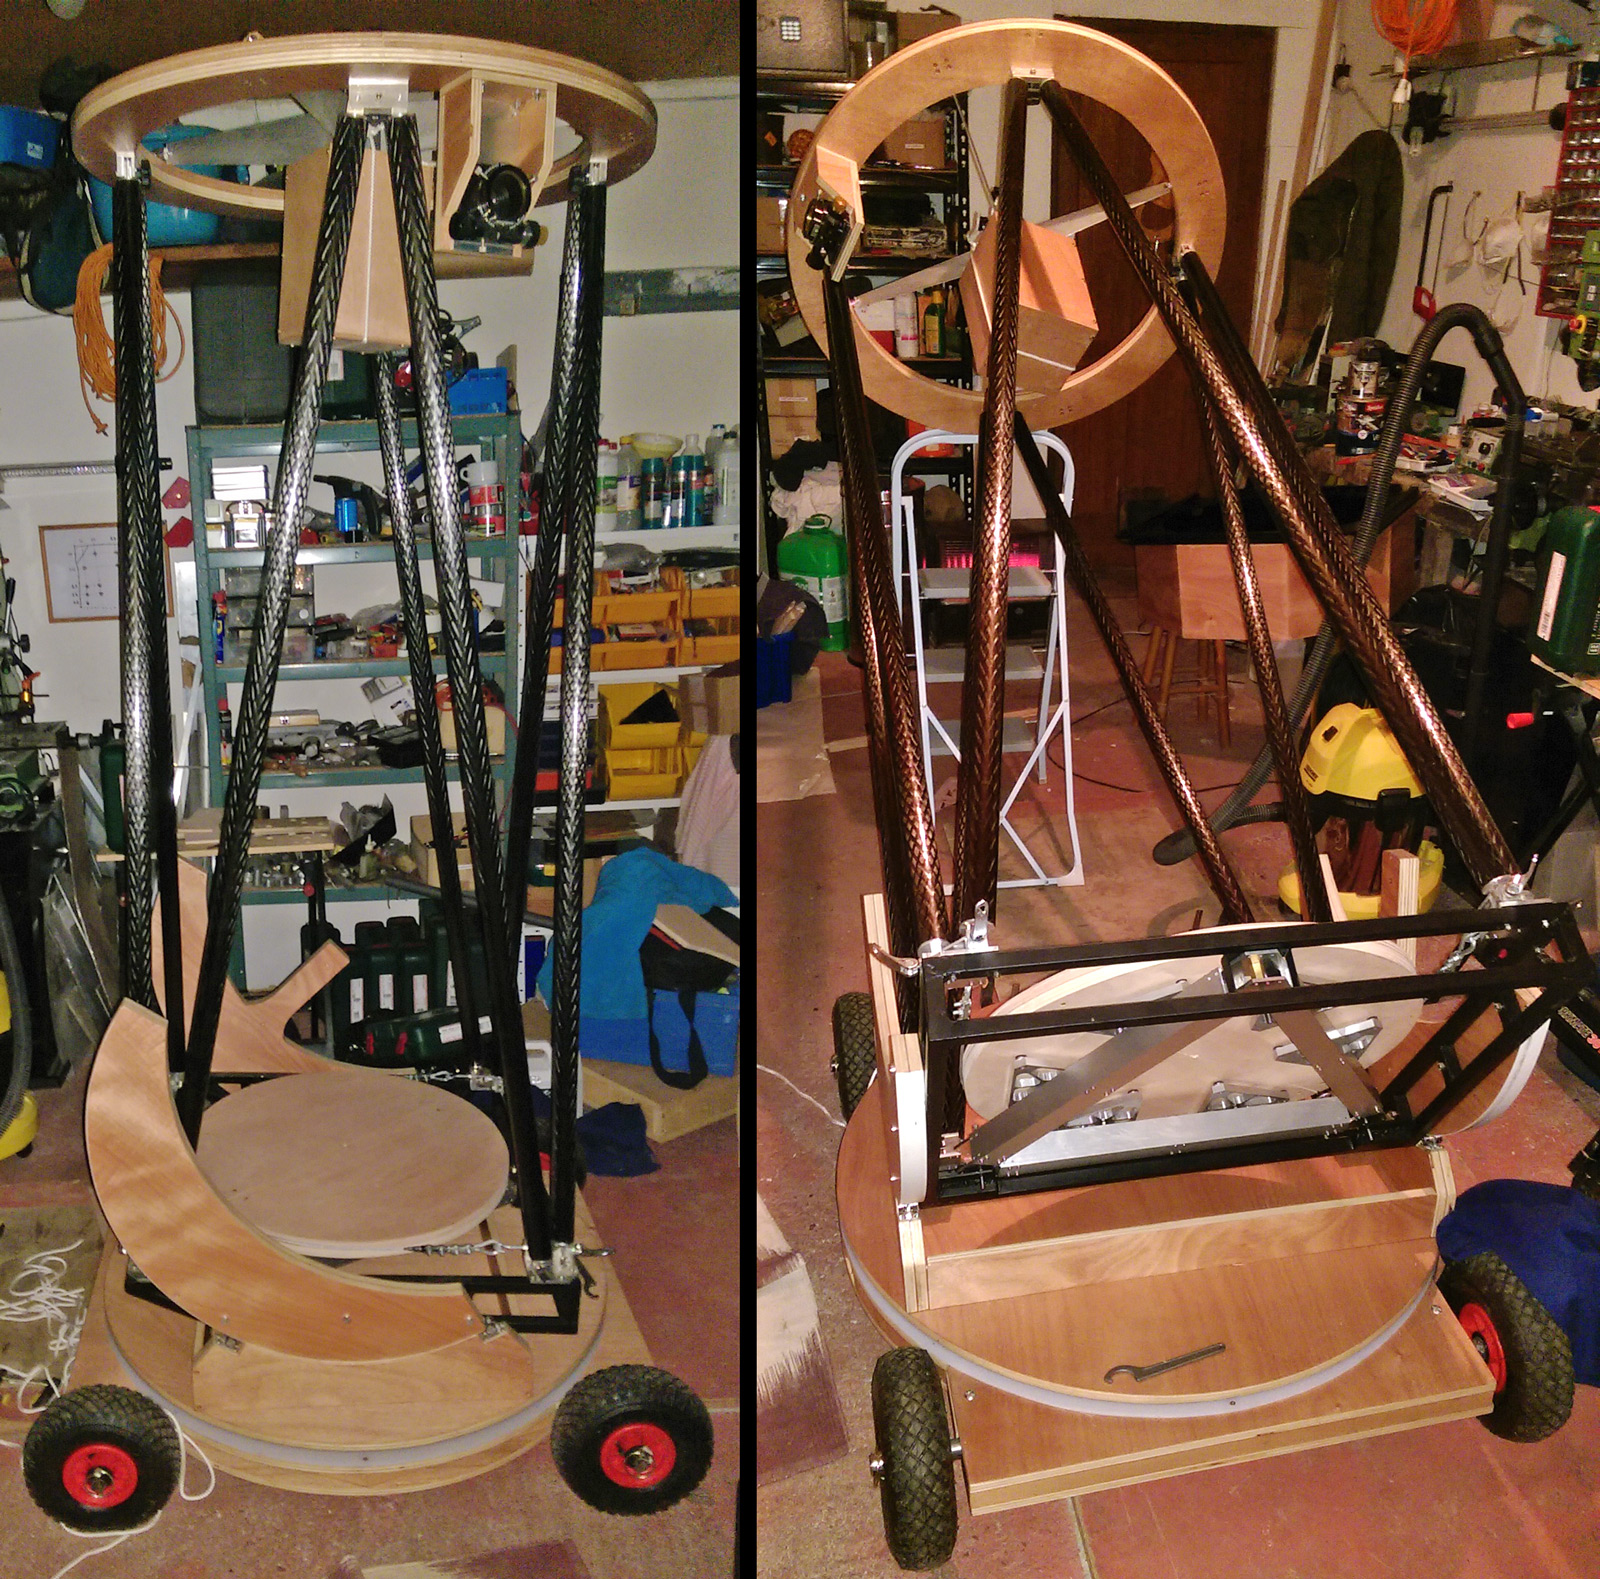
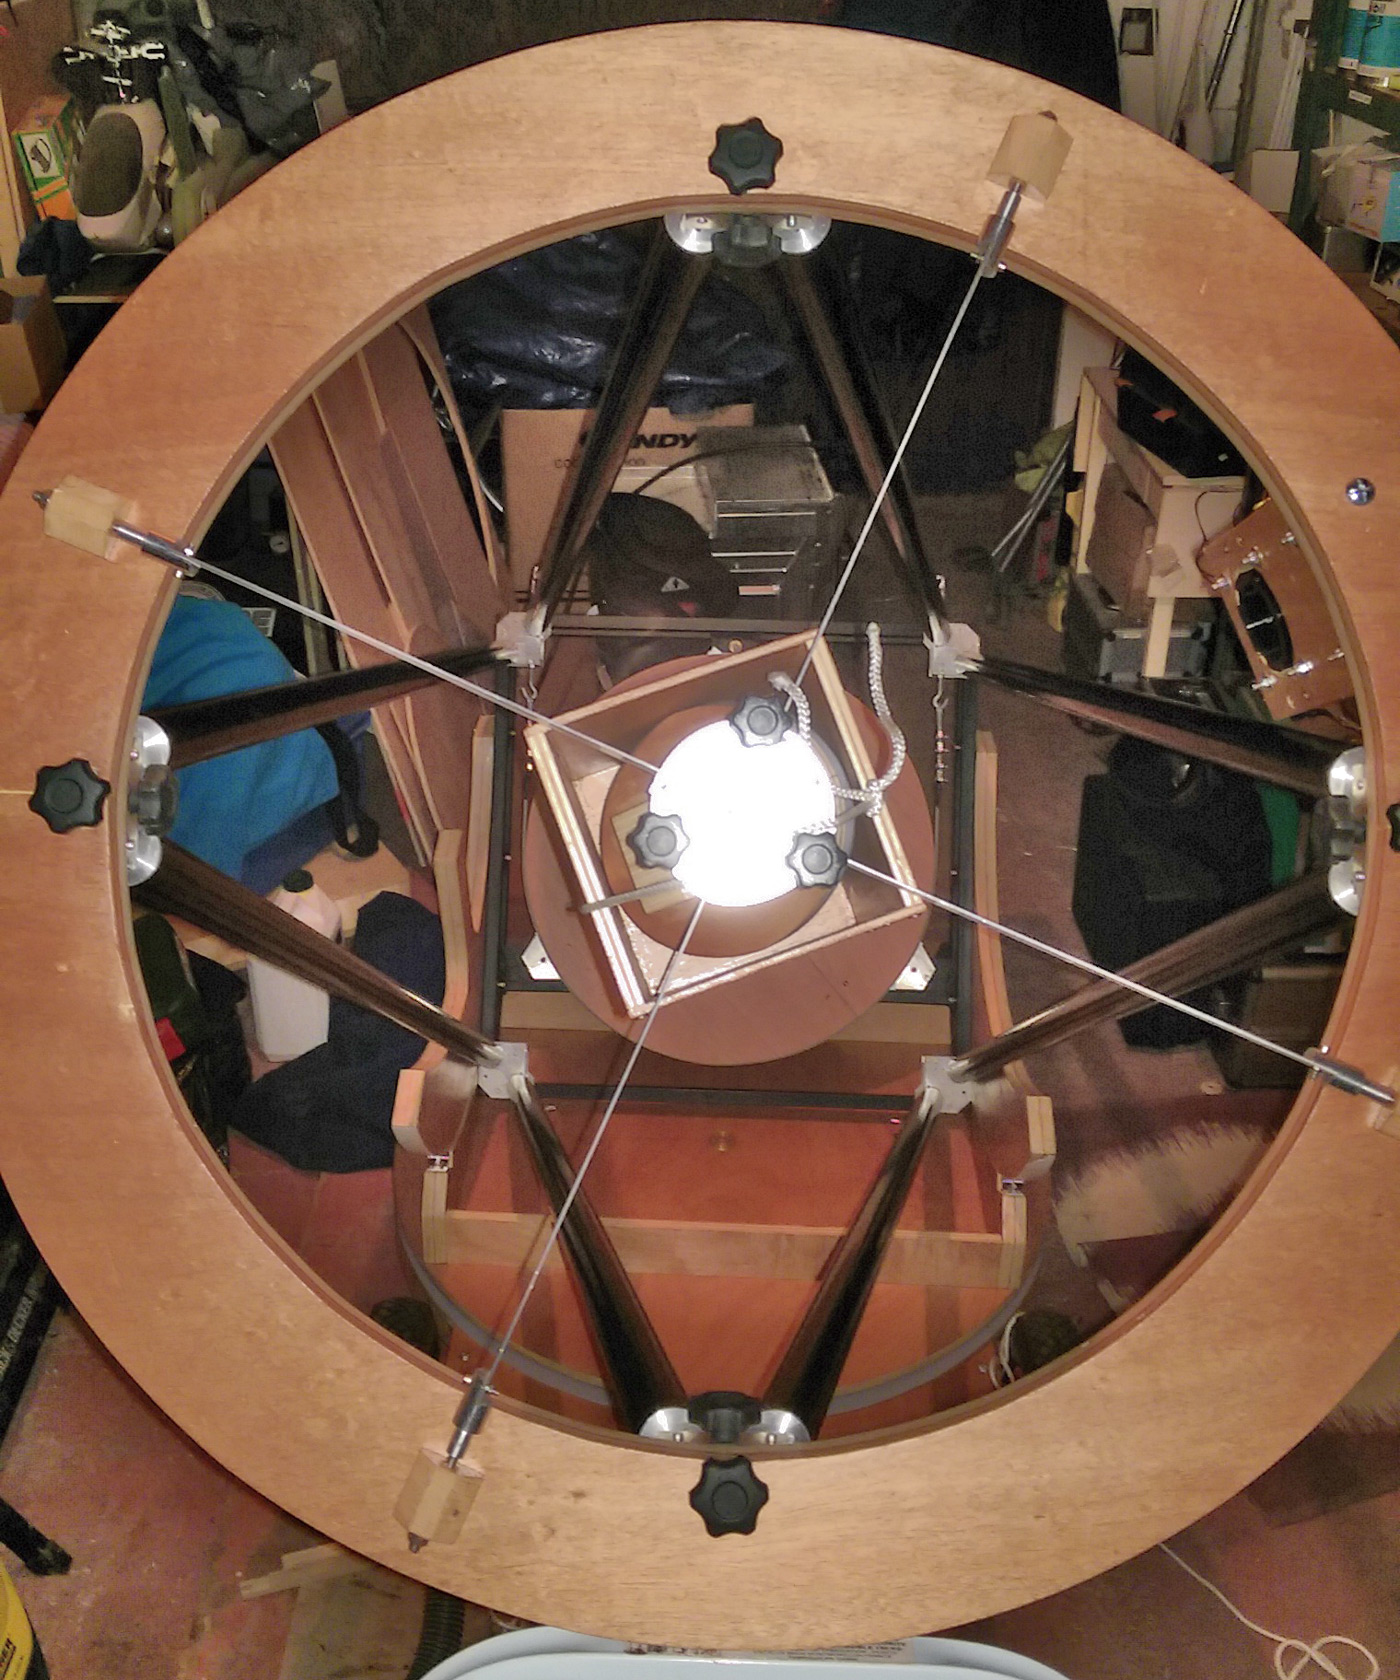
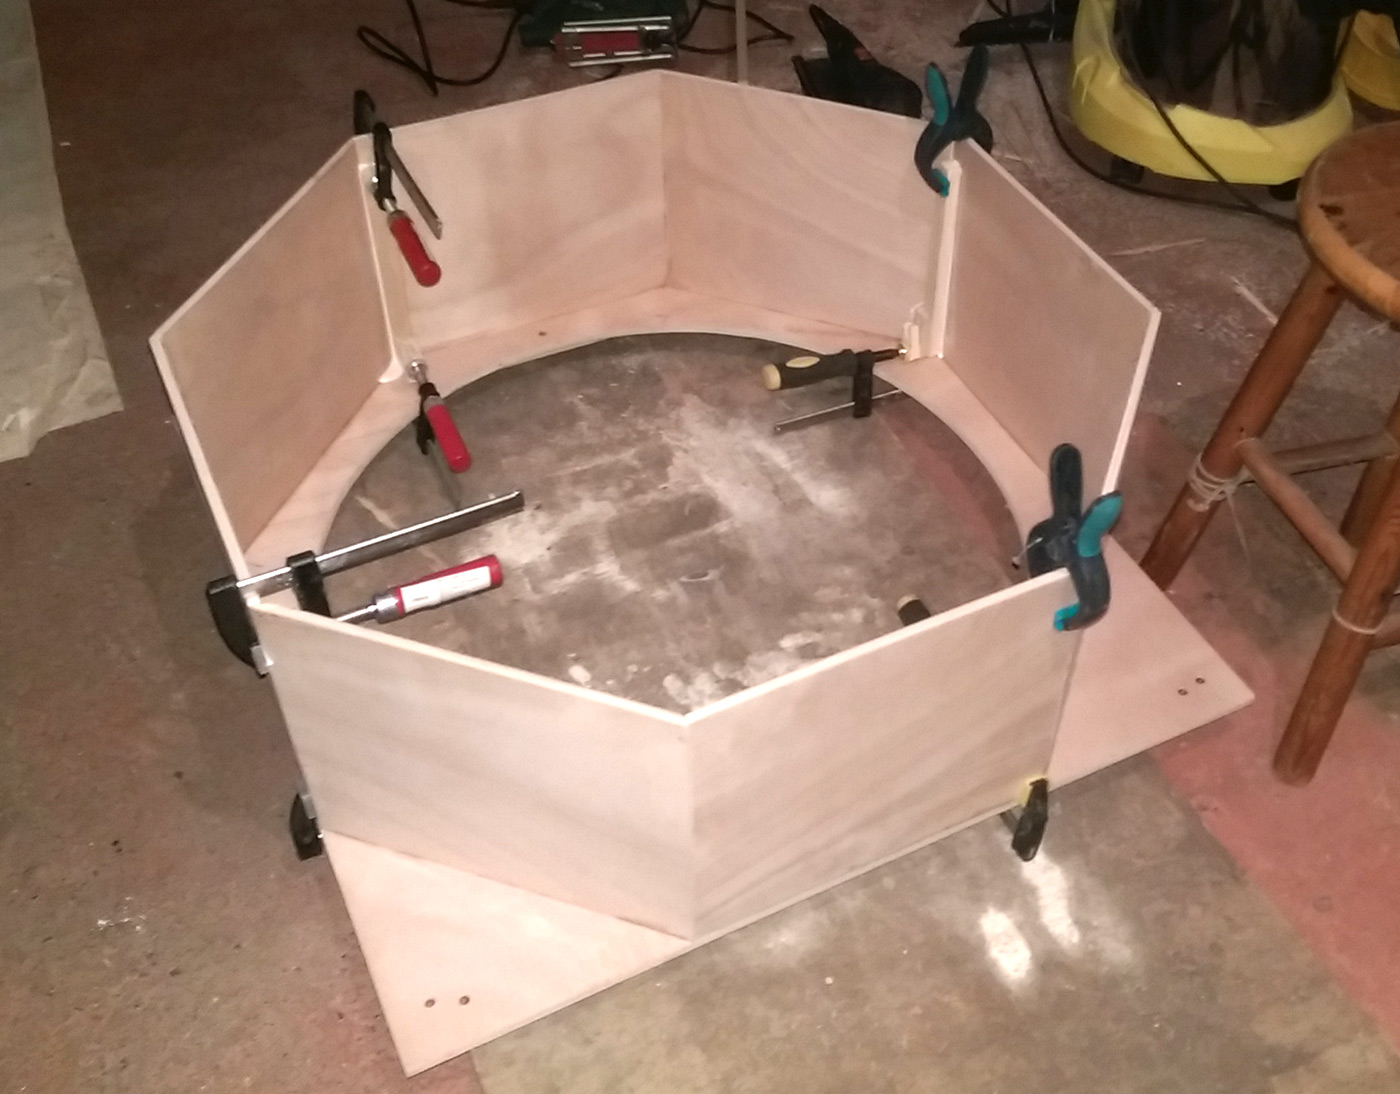
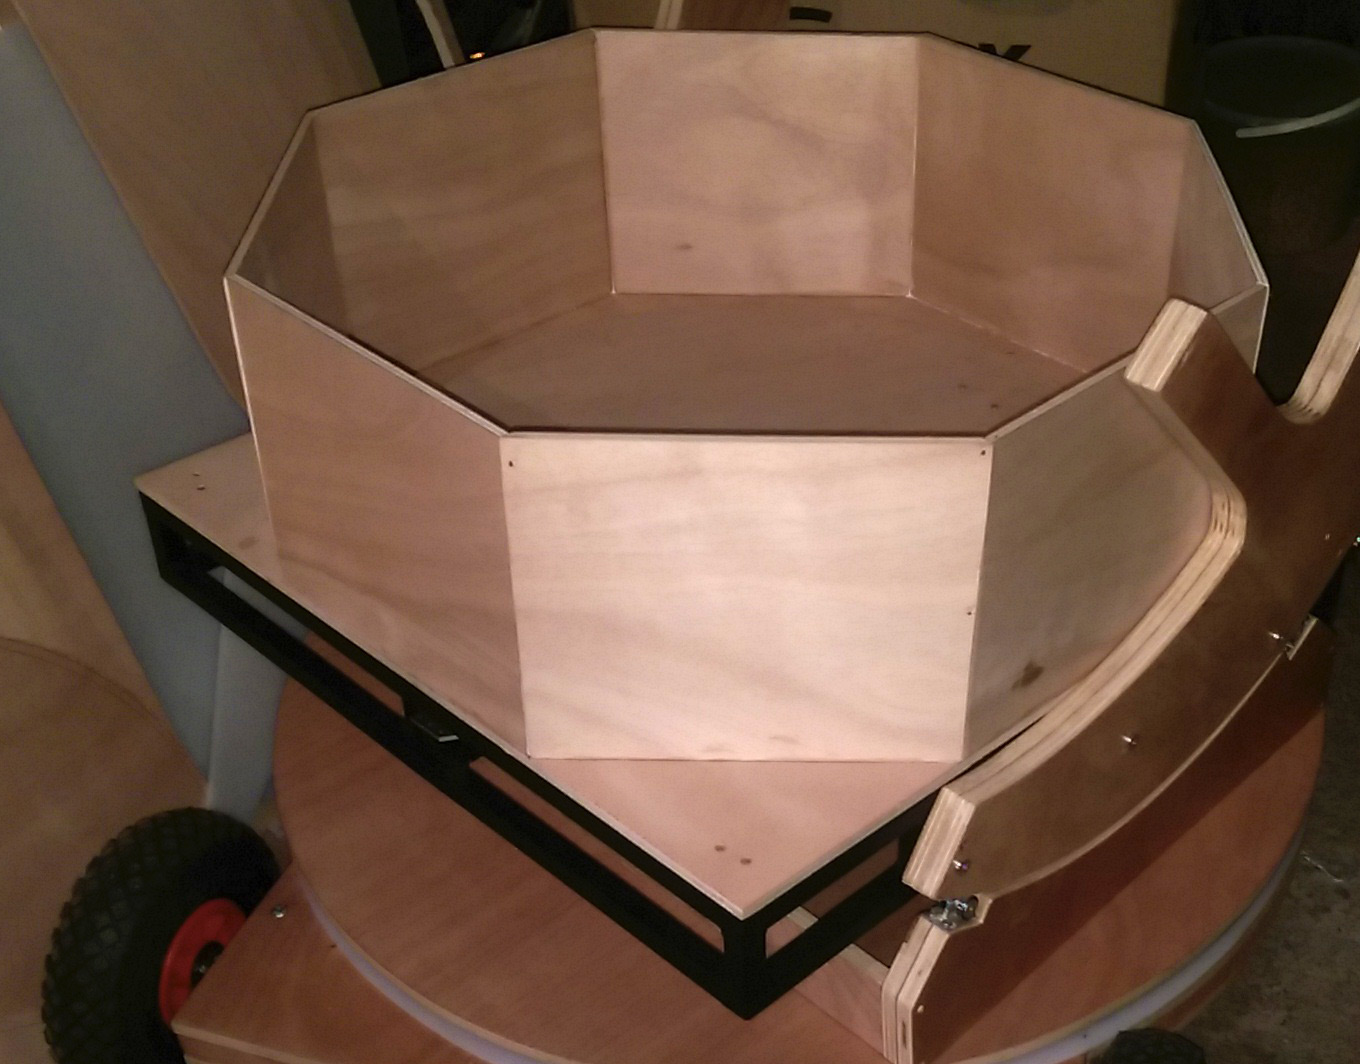
Once the carbon fiber structure was complete, a few finishing touches remained before the telescope was “ready to go.” The most important was creating a mirror box, whose role is to protect the optics as much as possible during transport and use. I opted for an octagonal structure, which allowed me to reduce the overall size, with a height of 250mm, leaving a little space above the mirror. This protects it somewhat from stray light and also from nearby humans during public observing sessions. The mirror is completely enclosed (with a 10mm gap around the mirror on the lower part) and well protected. The clever part of this mirror box is that it simply “sits” on the primary frame, with wooden stringers to align it, and can be removed in seconds. This allows me both to protect the mirror and to access it very easily, for removal if necessary (storage, cleaning).
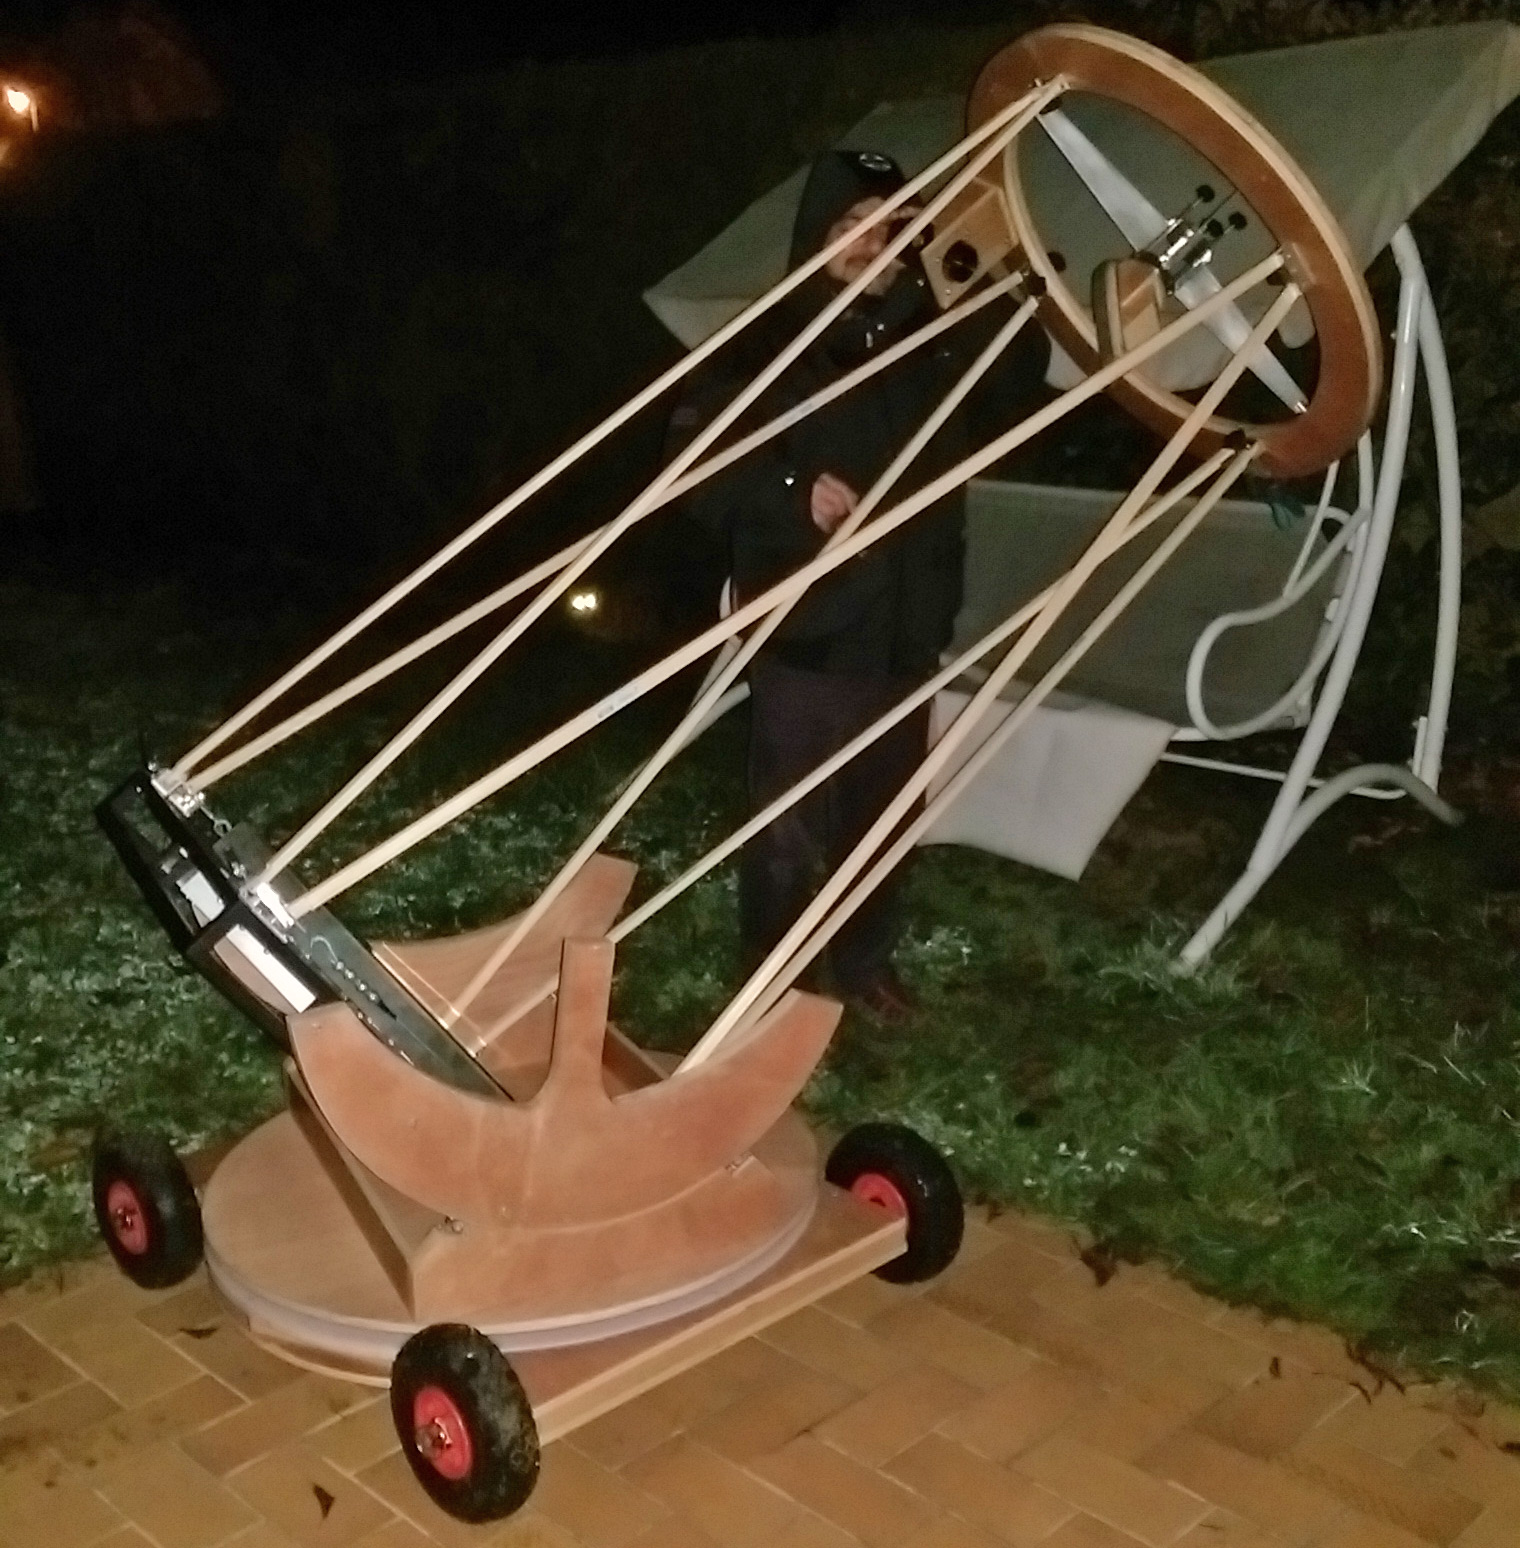
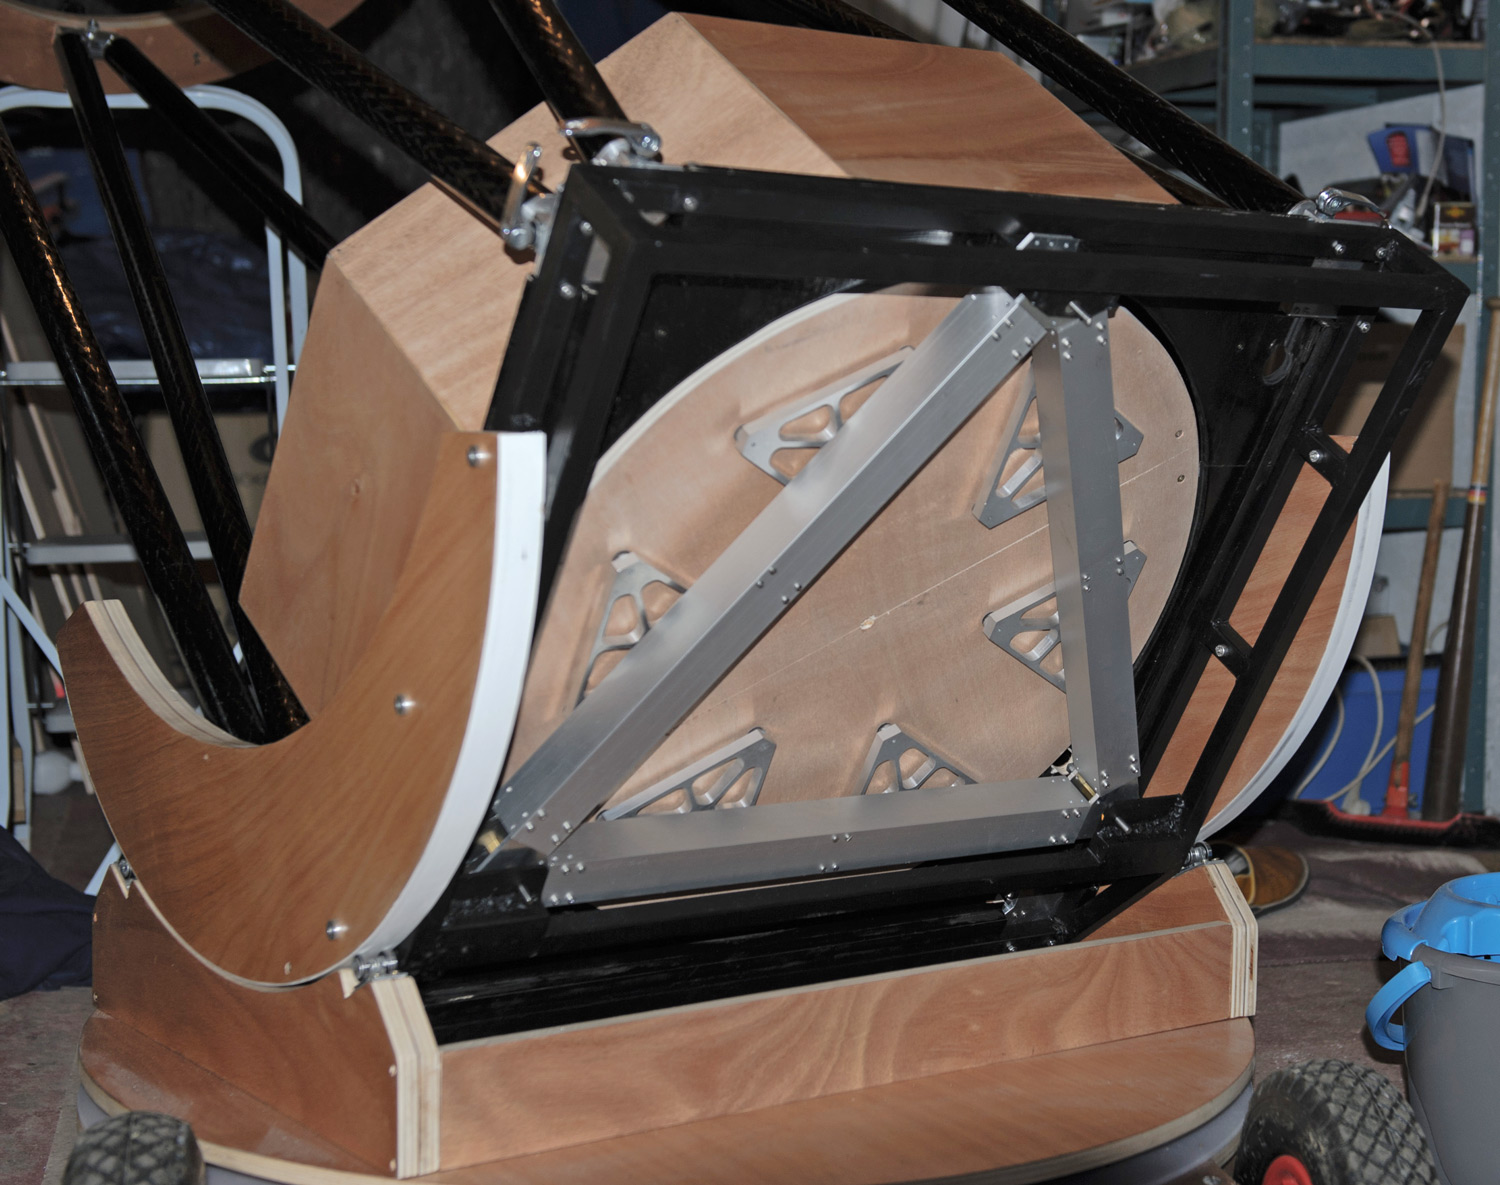
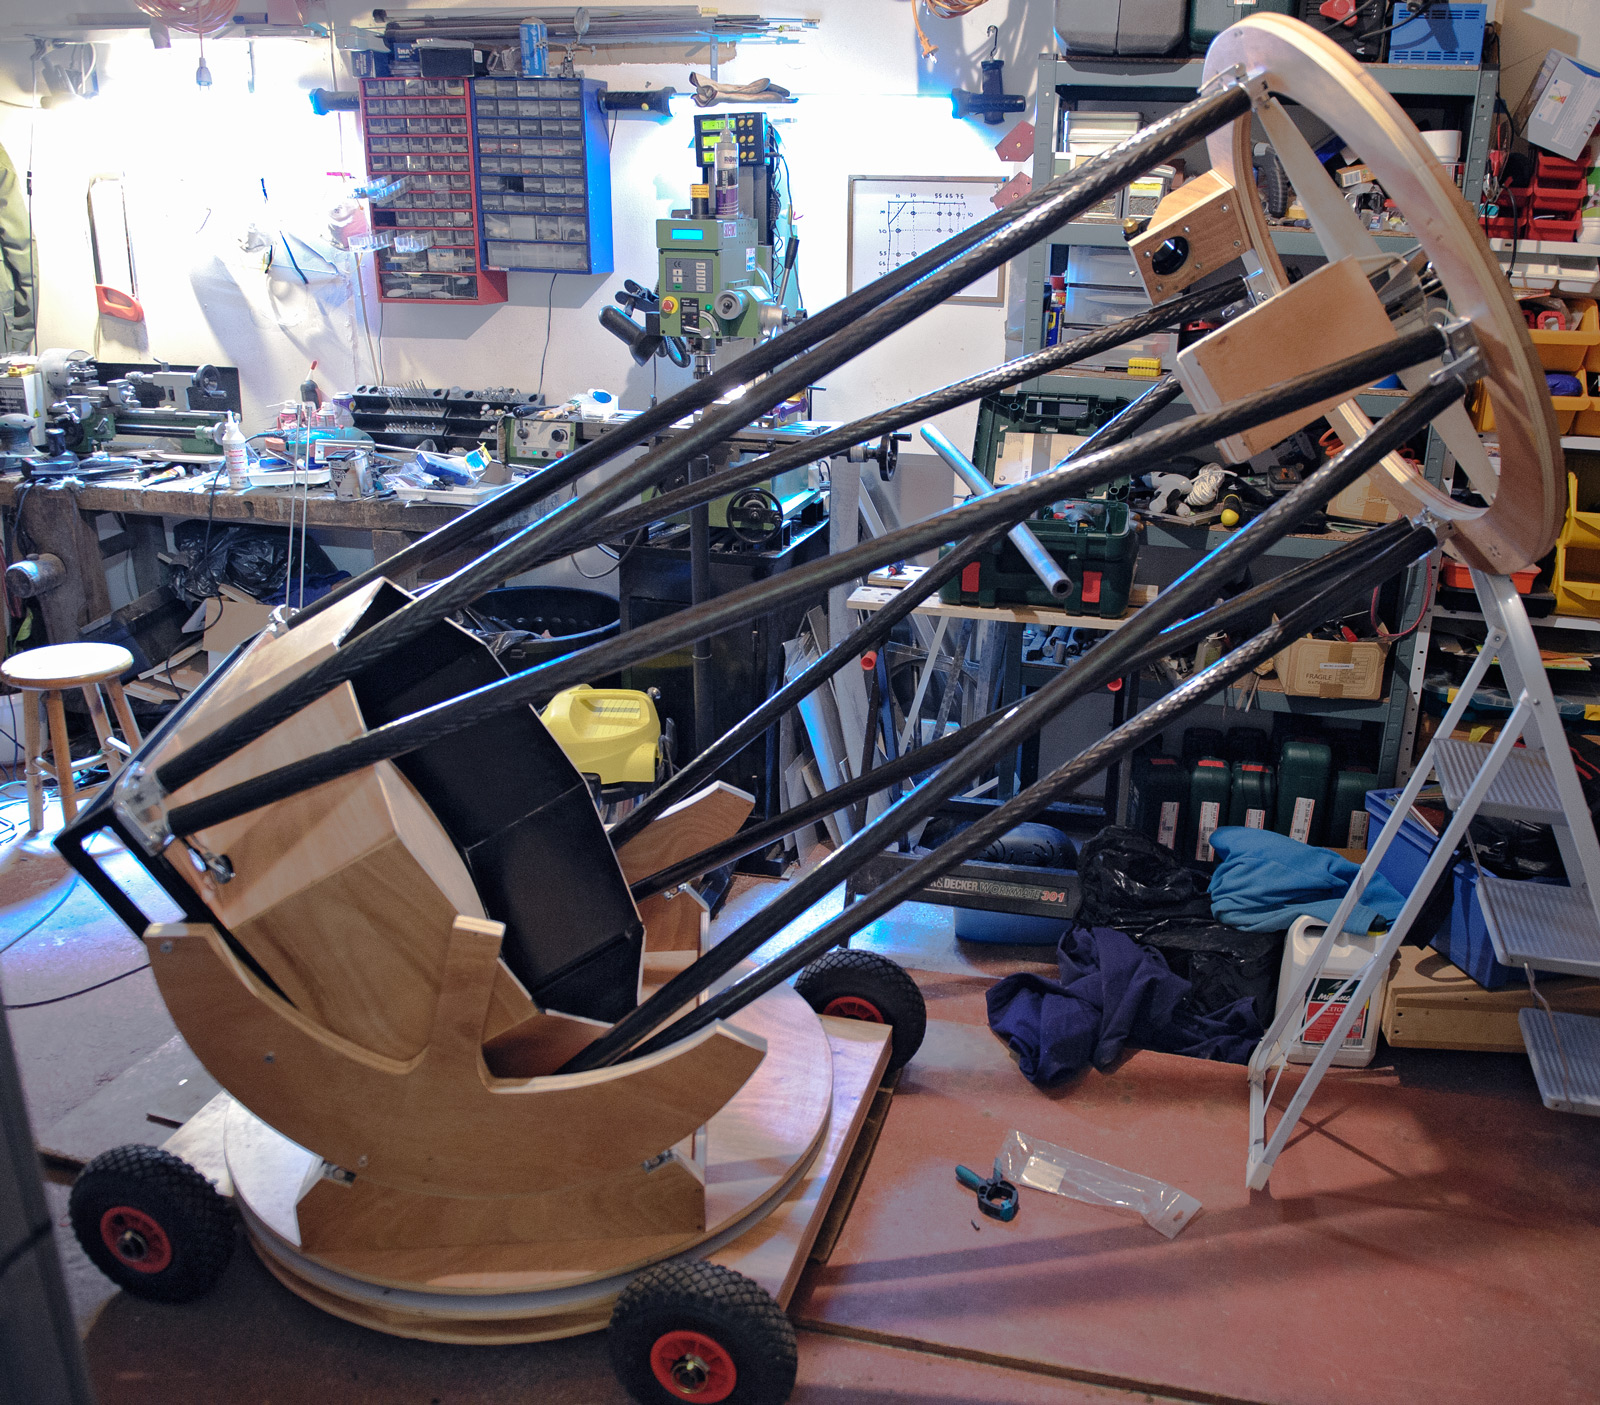
The other finishing touches involved creating a protective box for the secondary mirror and adjusting all the quick-release fittings to allow the tubes to be assembled and disassembled in moments. In the field, the telescope can be assembled in 5 minutes, which exceeds my expectations!
finition_01
finition_02
finition_03
finition_04
finition_05
finished_01
finished_02
finished_03
That’s it—the telescope is essentially complete. There are still a few small things to do, but it’s high time to start using it!
Next: In Use